How to Use Activated Charcoal with Orchids
Integrating activated charcoal into your orchid care routine is simple and effective. Here’s a step-by-step guide:
Step 1: Gather Your Materials
- Activated charcoal (available at garden centers or online)
- Orchid potting mix (specifically for orchids)
- Orchid plant (preferably potted)
- Water
Step 2: Prepare the Potting Mix
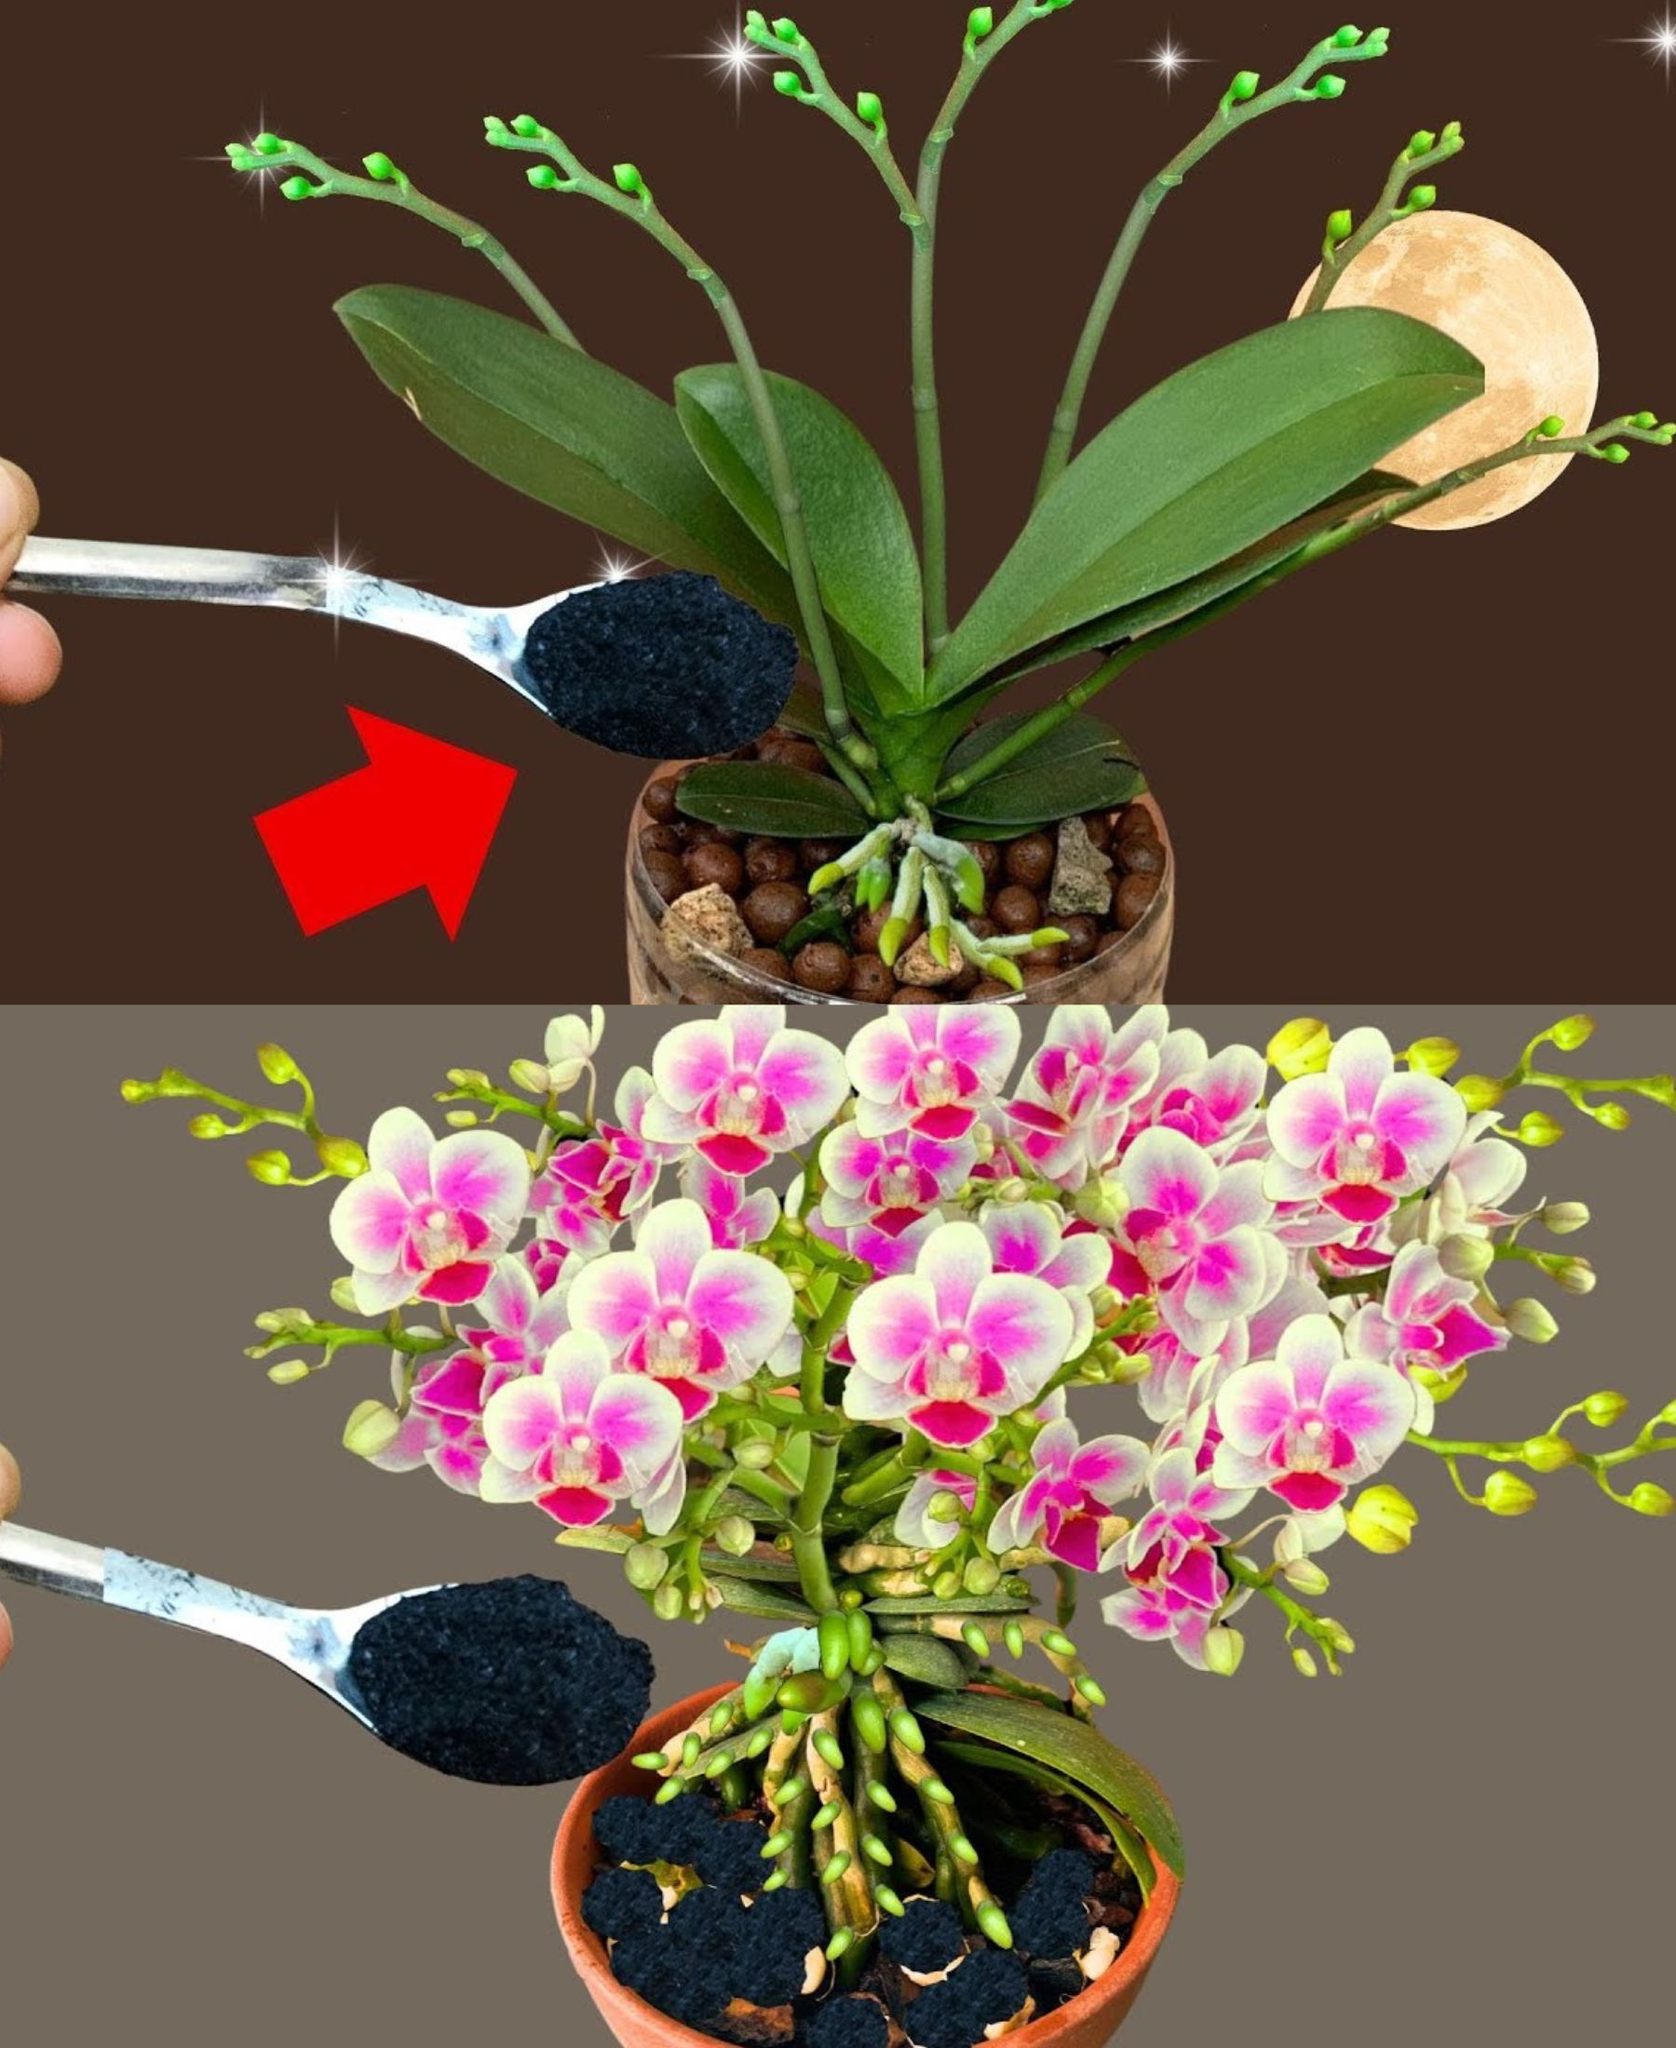
- Mixing: In a bowl, combine your orchid potting mix with activated charcoal. A good ratio is about 1 part charcoal to 4 parts potting mix. This ensures that the benefits of the charcoal are distributed throughout the medium.
- Moisten the Mix: Lightly moisten the potting mix with water to help it hold together better when potting.
Step 3: Repot Your Orchid
- Remove the Orchid: Gently take your orchid out of its pot, taking care not to damage the roots.
- Inspect the Roots: Check for any dead or rotting roots and trim them away with sterilized scissors.
- Potting: Place the orchid in a new pot and fill in around the roots with the charcoal-enriched potting mix. Ensure that the roots are spread out and not cramped.
Step 4: Water and Care
- Watering: After repotting, water the orchid thoroughly. Allow excess water to drain out of the pot.
- Care Routine: Continue to care for your orchid as usual, maintaining the right light, humidity, and fertilization schedule.
